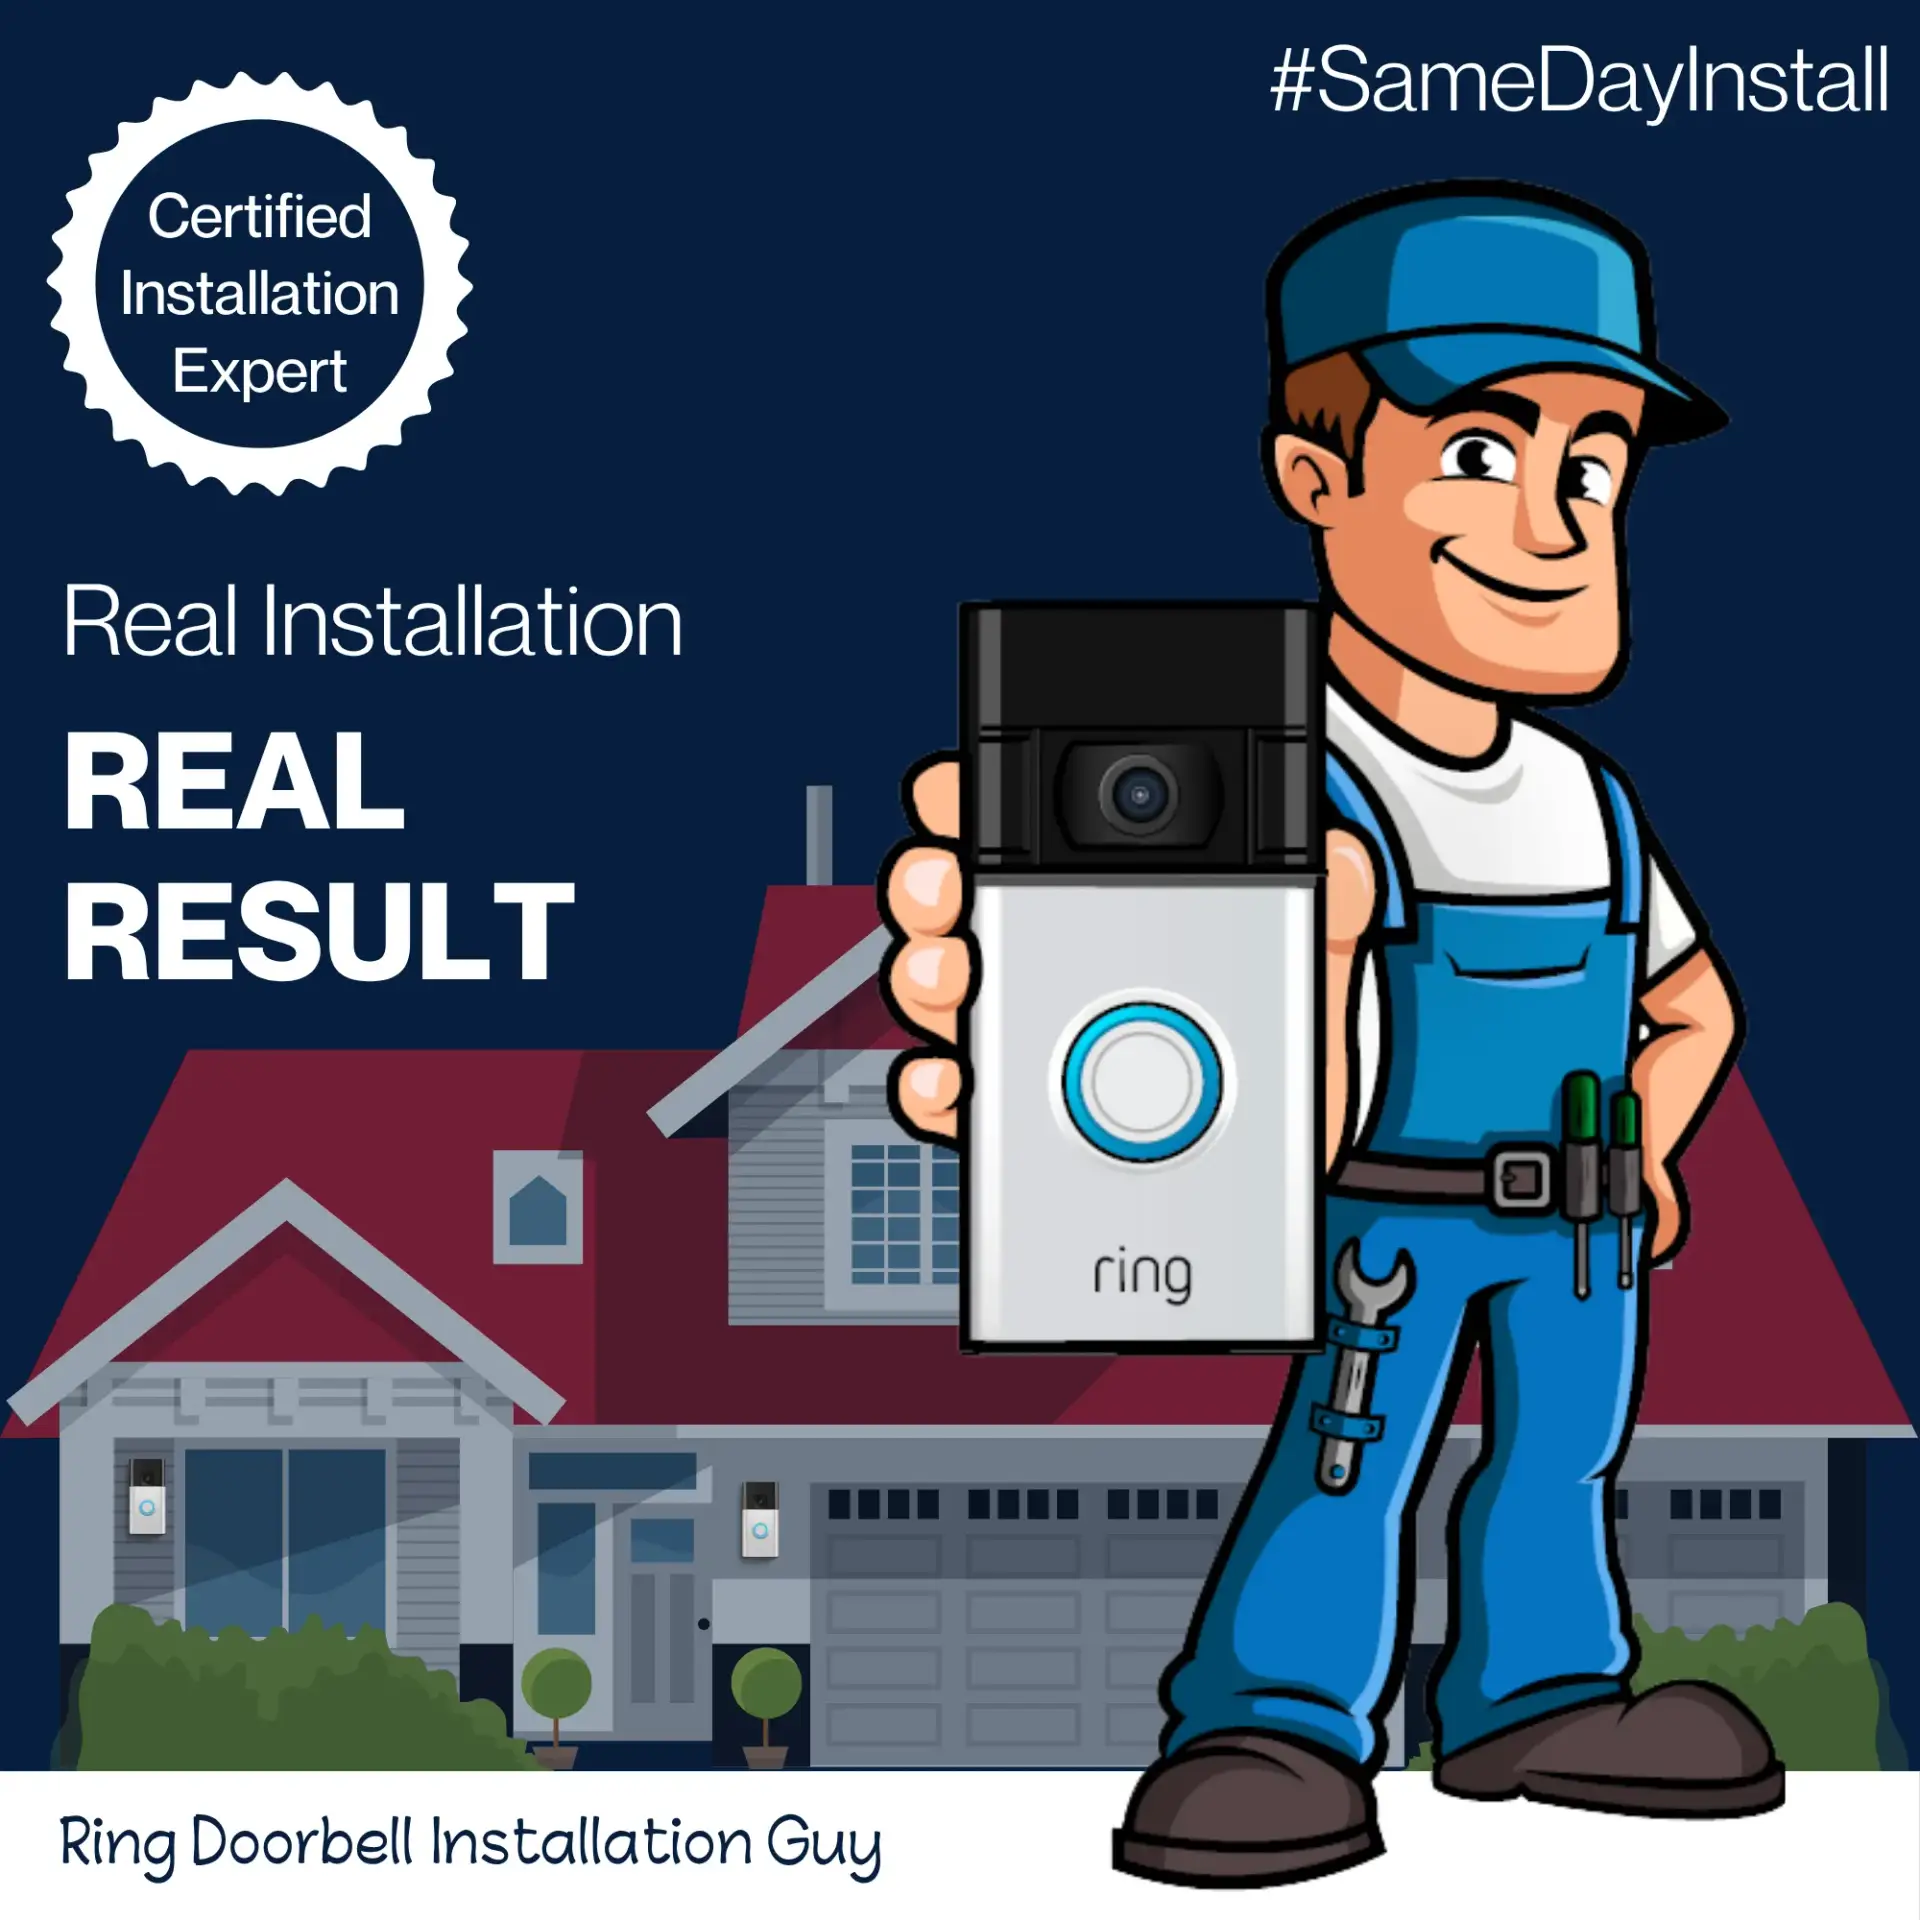
What a Proper Ring Doorbell Installation Looks Like
When it comes to Ring Doorbell installation, the difference between a DIY job and a professional install is night and day. As the Ring Doorbell Installation Guy, I’ve seen it all: crooked mounts, exposed wires, weak Wi-Fi signals, and even doorbells falling off the wall. That’s why I wanted to show you a real-world example of a clean, secure, and fully functional Ring Doorbell installation done the right way.
The Customer’s Problem
A homeowner in Orange County called me after their Ring Doorbell wasn’t recording properly and kept falling offline. The previous installer had used the wrong screws, mounted the doorbell on uneven stucco, and didn’t test the Wi-Fi signal strength. They were frustrated and ready to give up on the product.
My Professional Process
Step 1: Evaluate the Mounting Surface
I started by checking the mounting location. The wall had textured stucco, so I used a leveling mount to create a smooth surface and ensure the doorbell sat flush.
Step 2: Secure Mounting and Wiring
I used heavy-duty anchors designed for stucco and replaced the old screws with the correct ones. I also checked the transformer voltage to ensure the Ring had proper power.
Step 3: Optimize Angle and Signal
I added an angle mount so the doorbell would capture more of the walkway and package drop-off zone. I also tested the Wi-Fi signal strength and helped the customer move their router to improve connectivity.
Step 4: Test and Train
After installation, I walked the customer through the app setup, showed them how to adjust motion zones, and made sure everything worked as it should.
Before and After Comparison
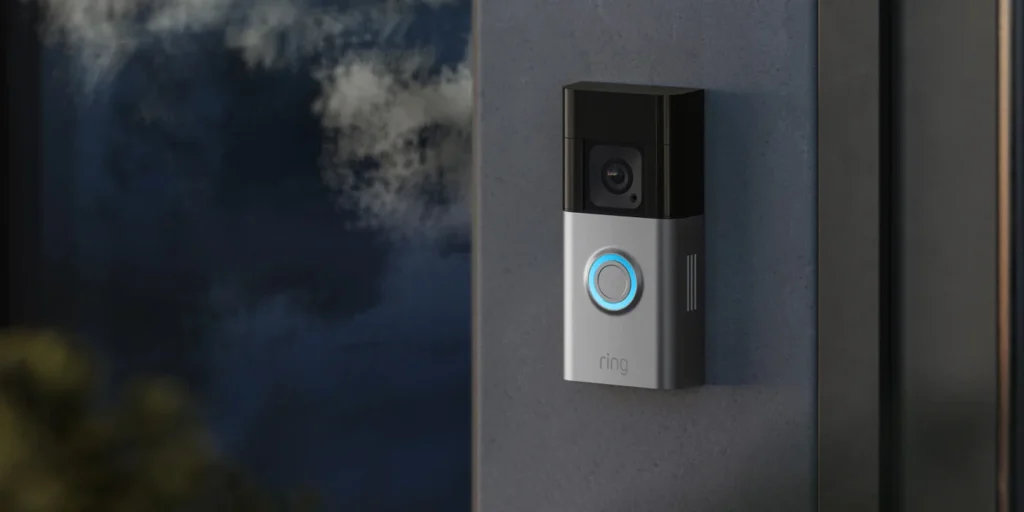
The transformation was dramatic. The doorbell now sits straight, is firmly secured, and works flawlessly. No more missed packages or offline notifications.
Why Professional Installation Matters?
A Ring Doorbell is only as good as its installation. If it’s loose, angled wrong, or underpowered, you’ll miss important motion alerts or have poor video quality. A pro installer saves you time and ensures everything is set up the way Ring intended.
Want a Clean Result Like This?
If you want your Ring Doorbell installed right the first time, I’m here to help. I specialize in fixing bad installs and getting your system working perfectly.
Do I need special tools to install a Ring Doorbell?
You’ll need a drill, level, anchors, and a compatible screwdriver. Most DIY kits include basics, but pros use better-quality fasteners and mounts.
Can you install Ring Doorbells on stucco or brick?
Yes, I regularly install on stucco, brick, wood, and vinyl. The right mounting technique depends on the surface.
What if my Wi-Fi is too weak at the door?
I can test your signal and recommend solutions like a mesh extender or router placement change to improve your doorbell’s performance.
Author Bio – Dave, Ring Expert
I’m Dave, an independent installer based in Orange County, California. As the owner of Ring Doorbell Installation Guy, I specialize in Ring devices including cameras, doorbells, alarm systems, and transformers. With over a decade of hands-on experience, I provide dependable solutions that keep homes and businesses protected.
Why You Might Need to Remove The Ring Doorbell Cover
What Tool Do You Need to Remove The Ring Doorbell Cover?
How to Remove The Ring Doorbell Cover
Common Issues and Fixes
Stripped Screw? Here’s What to Do
FAQs About Removing The Ring Doorbell Cover
Why You Might Need to Remove The Ring Doorbell Cover
Removing the Ring Doorbell cover is something many homeowners find themselves needing to do at some point. It gives you access to the setup button, mounting hardware, battery compartment, and internal connections—all the key parts that may need attention during a typical install, troubleshooting, or upgrade. Here are the most common reasons you might need to Remove The Ring Doorbell Cover:
To change the battery on battery-powered models
To press the setup button and enter pairing mode
To troubleshoot a connectivity or hardware issue
To remove the doorbell and access the mounting screws
To upgrade, relocate, or replace your Ring Doorbell
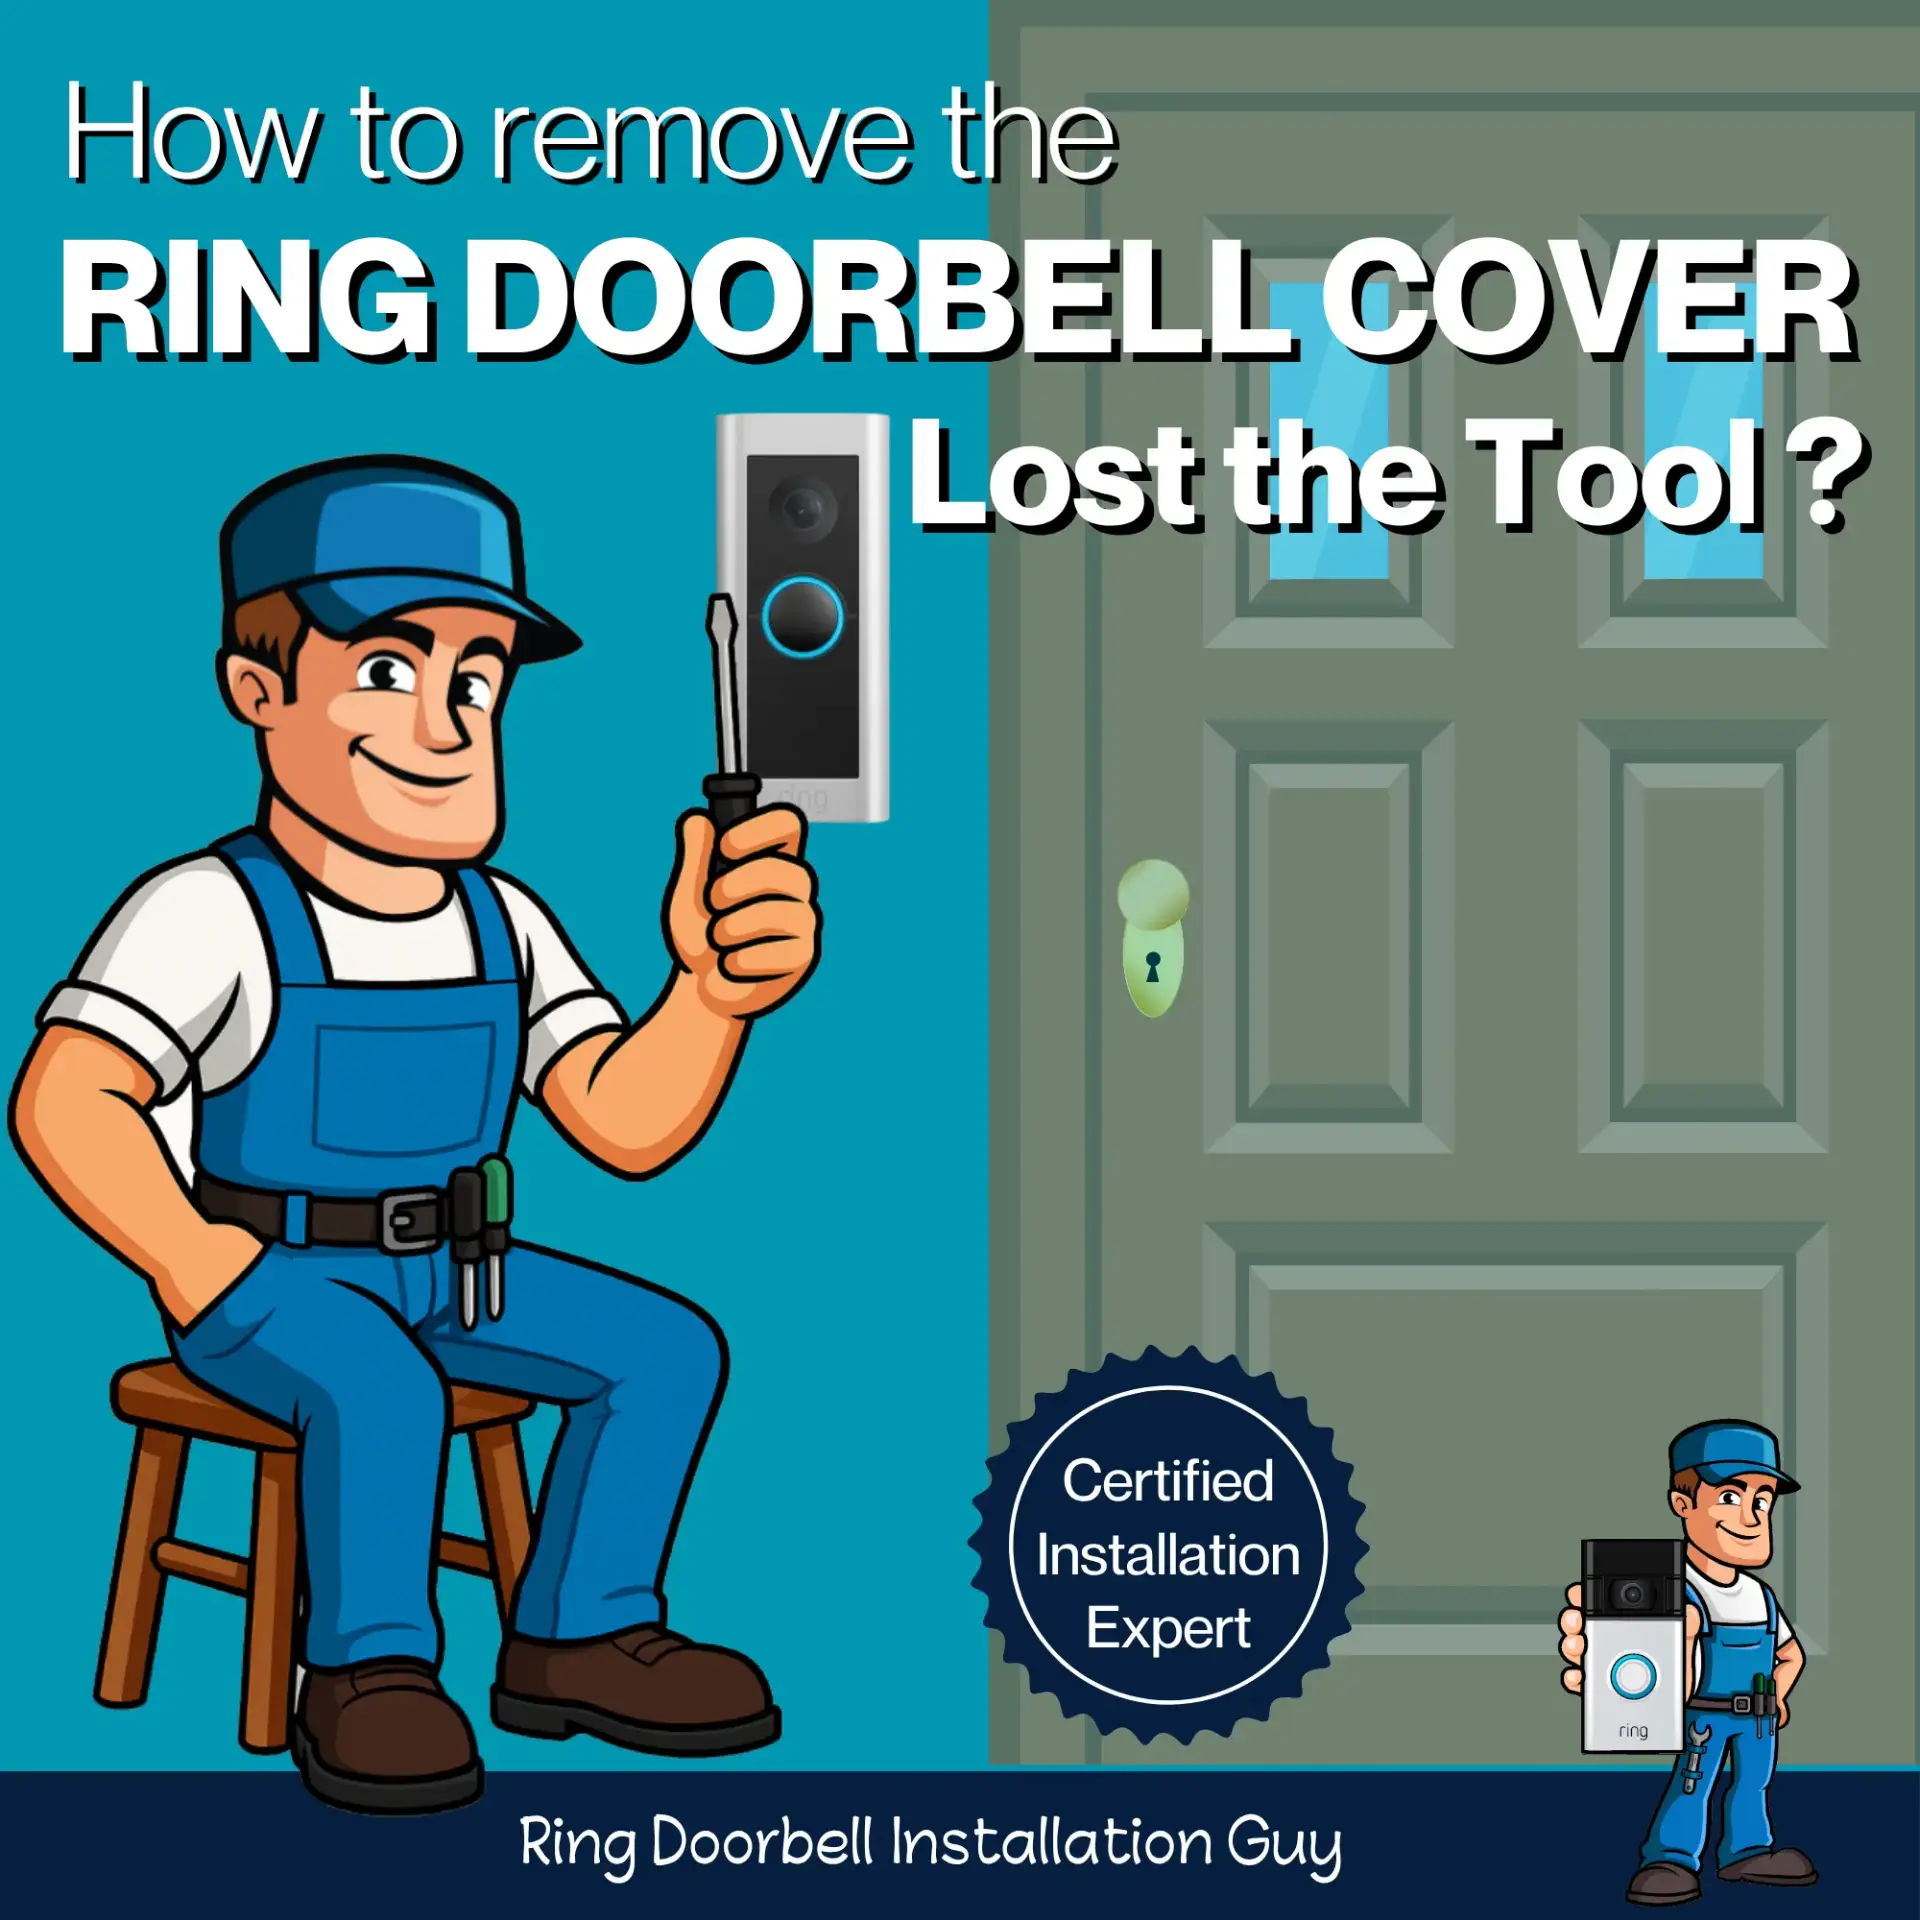
What Tool Do You Need to Remove The Ring Doorbell Cover?
Most Ring Doorbells use a Torx security screw—specifically a T15 or T20, depending on the model. These aren’t standard Torx screws; they’re security Torx, which means they have a small pin in the center of the screw head. Your screwdriver must have a matching hole in the middle to fit properly. If your tool doesn’t have that hollow center, it won’t engage with the screw—and you could strip it trying. Always check visually to confirm you’re using the correct driver before you Remove The Ring Doorbell Cover.
Which Ring Doorbells Use Which Torx Screw
Use this chart to find the right screwdriver size before you Remove The Ring Doorbell Cover:
Ring Doorbell Model
Power Source
Transformer Needed
Common Use Case
Battery Doorbell
Battery
No
Basic installs with no existing wiring
Battery Doorbell Plus
Battery
No
Wider view, longer battery life
Battery Doorbell Pro
Battery
No
Advanced motion, dual-band Wi-Fi
Video Doorbell Wired
Wired
Yes (16–24V)
Budget option with compact design
Wired Doorbell Pro
Wired
Yes (high power)
High performance, customizable alerts
Video Doorbell Elite
PoE
No (uses Ethernet)
Premium installs, custom homes
Peephole Cam
Battery
No
Apartments or peephole replacement
What If You Lost the Tool?
How to Remove the Ring Doorbell Cover
If you misplaced the original Ring screwdriver, you’re not alone. Luckily, replacements are easy to find:
Tip: When searching on those sites, use terms like:
T15 security Torx for Ring Doorbell
Ring Doorbell screwdriver replacement
Ring Doorbell tool for cover removal
T20 tamper-proof screwdriver Ring
Security Torx bit for Ring
Buy Ring Doorbell Torx tool
Ring Doorbell compatible screwdriver
T15 tamper-proof bit for Ring cover
T20 security driver for Ring Pro
T15 security Torx Ring tool
Ring Doorbell cover screwdriver
Follow these steps to safely Remove The Ring Doorbell Cover without damaging your device.
Prefer to watch instead? Here’s my own video on how to Remove The Ring Doorbell Cover.
1. Locate the Screw
The screw is at the bottom of the faceplate. Identify whether your model uses a T15 or T20 Torx screw, and visually check that your screwdriver fits the screw properly—it should sit snugly in the star-shaped pattern. Using the wrong size can strip the screw or make removal difficult.
2. Remove the Screw
Insert the screwdriver firmly into the screw head and turn it counterclockwise—lefty loosey. Be gentle but steady, and continue turning until the screw is completely removed.
3. Gently Remove the Cover
Grip the faceplate gently at the sides near the bottom, pull it slightly outward, and then slide it upward. For extra control, place your other hand or a finger near the top of the doorbell to stabilize it—this helps prevent accidentally pulling the entire unit off the wall. If you’re wondering how to remove cover on Ring Doorbell, this is the critical step. Many of my customers squeeze too hard and end up yanking the whole unit—don’t do that!
My Ring Cover Won’t Budge
If your Ring cover won’t come off, start with the basics: check that the screw is completely out. If it still sticks, the problem is usually something simple—like paint, caulk, or dirt—holding it in place. The sections below walk through each of these issues and how to handle them so you can safely free the cover.
Screw
Always double-check that the security screw has been fully removed before trying to pull off the cover. You cant remove the cover if the screw is still there.
Paint
If paint has sealed the cover to the wall, gently score around the edge with a utility knife to break the bond. Take care not to scratch the doorbell covers or the doorbell housing.
Caulk
If caulk was applied around the cover, use a sharp blade to carefully cut along the seam. Peel away any loose caulk and clear the edges before attempting to remove the cover.
Dirt
Dirt or dust can harden and lock the cover in place. Use a soft brush or compressed air to loosen debris. For stubborn grime, a damp cloth or mild cleaner may help free up the edges.
Stripped Screw? Here’s What to Do
If the screw head is stripped and your screwdriver can’t grip it properly, don’t panic. You have a few last-resort methods you can try before giving up on removing the cover and ripping it off the wall and ordering a new Ring Doorbell.
Use Needle-Nose Pliers
If the screw is sticking out just slightly, try using needle-nose pliers to grip the screw head and twist it counterclockwise. Go slowly and apply steady pressure.
Try a Screw Extractor Kit
Screw extractor kits are inexpensive and available at hardware stores. They’re designed specifically for stripped screws. Insert the extractor bit into your drill and gently reverse the screw out.
Grind Off the Screw Head
Use a Dremel or rotary tool to carefully grind away the head of the screw. This is safer then the next method of drilling, especially if you’re working close to the device housing. Wear eye protection and take your time to avoid damaging the Ring Doorbell itself.
Drill Off the Screw Head
If all else fails, you can drill off the top of the screw using a metal bit slightly larger than the screw head. Once the head is removed, the cover will come off, and you can use pliers to unscrew the remaining shaft.
Warning: This should be your absolute last resort, as it can damage the cover or the battery if done improperly.
Break the Cover Off
If you don’t have access to the tools listed above, another option is to carefully break the plastic around the screw head using a flat prying tool. This lets you remove the cover. Once it’s off, you can then use the needle nose plyers to remove the security screw. You might be able to still use the cover, but most likely will need to order a replacement cover and screw online.
Frustrated? Here's Your Last Resort
If nothing else has worked—and you’re stuck with a screw that won’t budge or a cracked cover—it may be time to move on. You can carefully force the device off the wall, knowing it may damage the mounting bracket or the housing. This should only be done if you’re already planning to replace the Ring Doorbell and the cover or screw is beyond repair.
Note: Only do this if you’re replacing the device and it’s beyond saving.
FAQs About Removing The Ring Doorbell Cover
Here are answers to the most common questions people ask when trying to Remove The Ring Doorbell Cover — whether they’re dealing with lost tools, stripped screws, or just figuring out which screwdriver to use.
What screwdriver do I need to remove the Ring Doorbell cover?
Most Ring models use a T15 or T20 Torx security screw, which has a pin in the middle. Make sure your screwdriver has a matching hole—regular Torx drivers won’t work. Use the chart above to confirm your model’s screw size.
Can I remove the Ring Doorbell cover without the special tool?
Yes. You can use any T15 or T20 security Torx driver with a hollow center. These are available online or at hardware stores. See the “What If You Lost the Tool?” section for purchase links.
Can I use a regular Torx screwdriver on a Ring Doorbell?
No. Ring uses security Torx screws, which have a pin in the center. A regular Torx won’t fit unless it has a hollow point. You’ll need a T15 or T20 security Torx driver.
How do I know if I have a T15 or T20 screw?
You can often tell by checking the size of the screw head. T15 screws are smaller and more common on battery models. T20 screws are larger and typically used on Pro and Elite models. Check the chart above for your exact Ring model.
How do I remove a stuck Ring Doorbell cover?
If the cover won’t budge, make sure the screw is fully removed. Clean off any paint, dirt, or debris around the edges. Then, use both hands to gently slide the cover upward while stabilizing the top of the device.
What if I stripped the screw on my Ring Doorbell?
You can try using needle-nose pliers, a screw extractor kit, or carefully drill or grind the head off. Check the section above for a step-by-step guide to fixing a stripped Ring screw.
Where is the Ring Doorbell setup button located?
The setup button is hidden behind the cover of the Ring Doorbell. You’ll need to remove the cover to access it. Pressing this button puts the device into setup mode for pairing with Wi-Fi or connecting to a new phone.
Do all Ring Doorbells use the same cover and screw?
No. Different models use different screws and slightly different cover styles. Refer to the chart in this guide to match your model to the correct Torx size.
Can I remove the Ring Doorbell cover while it’s powered on?
Yes, if you have a battery-powered Ring model, it’s safe to remove the cover without powering down. For hardwired models, it’s best to shut off power at the breaker for added safety—especially if you’re removing the entire unit from the wall.
Author Bio – Dave, Ring Expert
I’m Dave, an independent installer based in Orange County, California. As the owner of Ring Doorbell Installation Guy, I specialize in Ring devices including cameras, doorbells, alarm systems, and transformers. With over a decade of hands-on experience, I provide dependable solutions that keep homes and businesses protected.
Why You Might Need to Reset or Factory Reset Ring Doorbell
If your Ring Doorbell is unresponsive, stuck on live view, or won’t connect to Wi-Fi, a quick reset can often solve the issue. The good news? A reset doesn’t erase your settings, videos, or account details—it simply reboots the device. In some cases, you may need to do a factory reset Ring Doorbell or a factory reset Ring Video Doorbell to fully restore it to default settings.
Quick Reset Instructions
If you haven’t removed your Ring Doorbell cover yet, you’ll need to do that before accessing the setup button. For step-by-step help, see my guide: How to Remove the Ring Doorbell Cover.
Step-by-Model Instructions
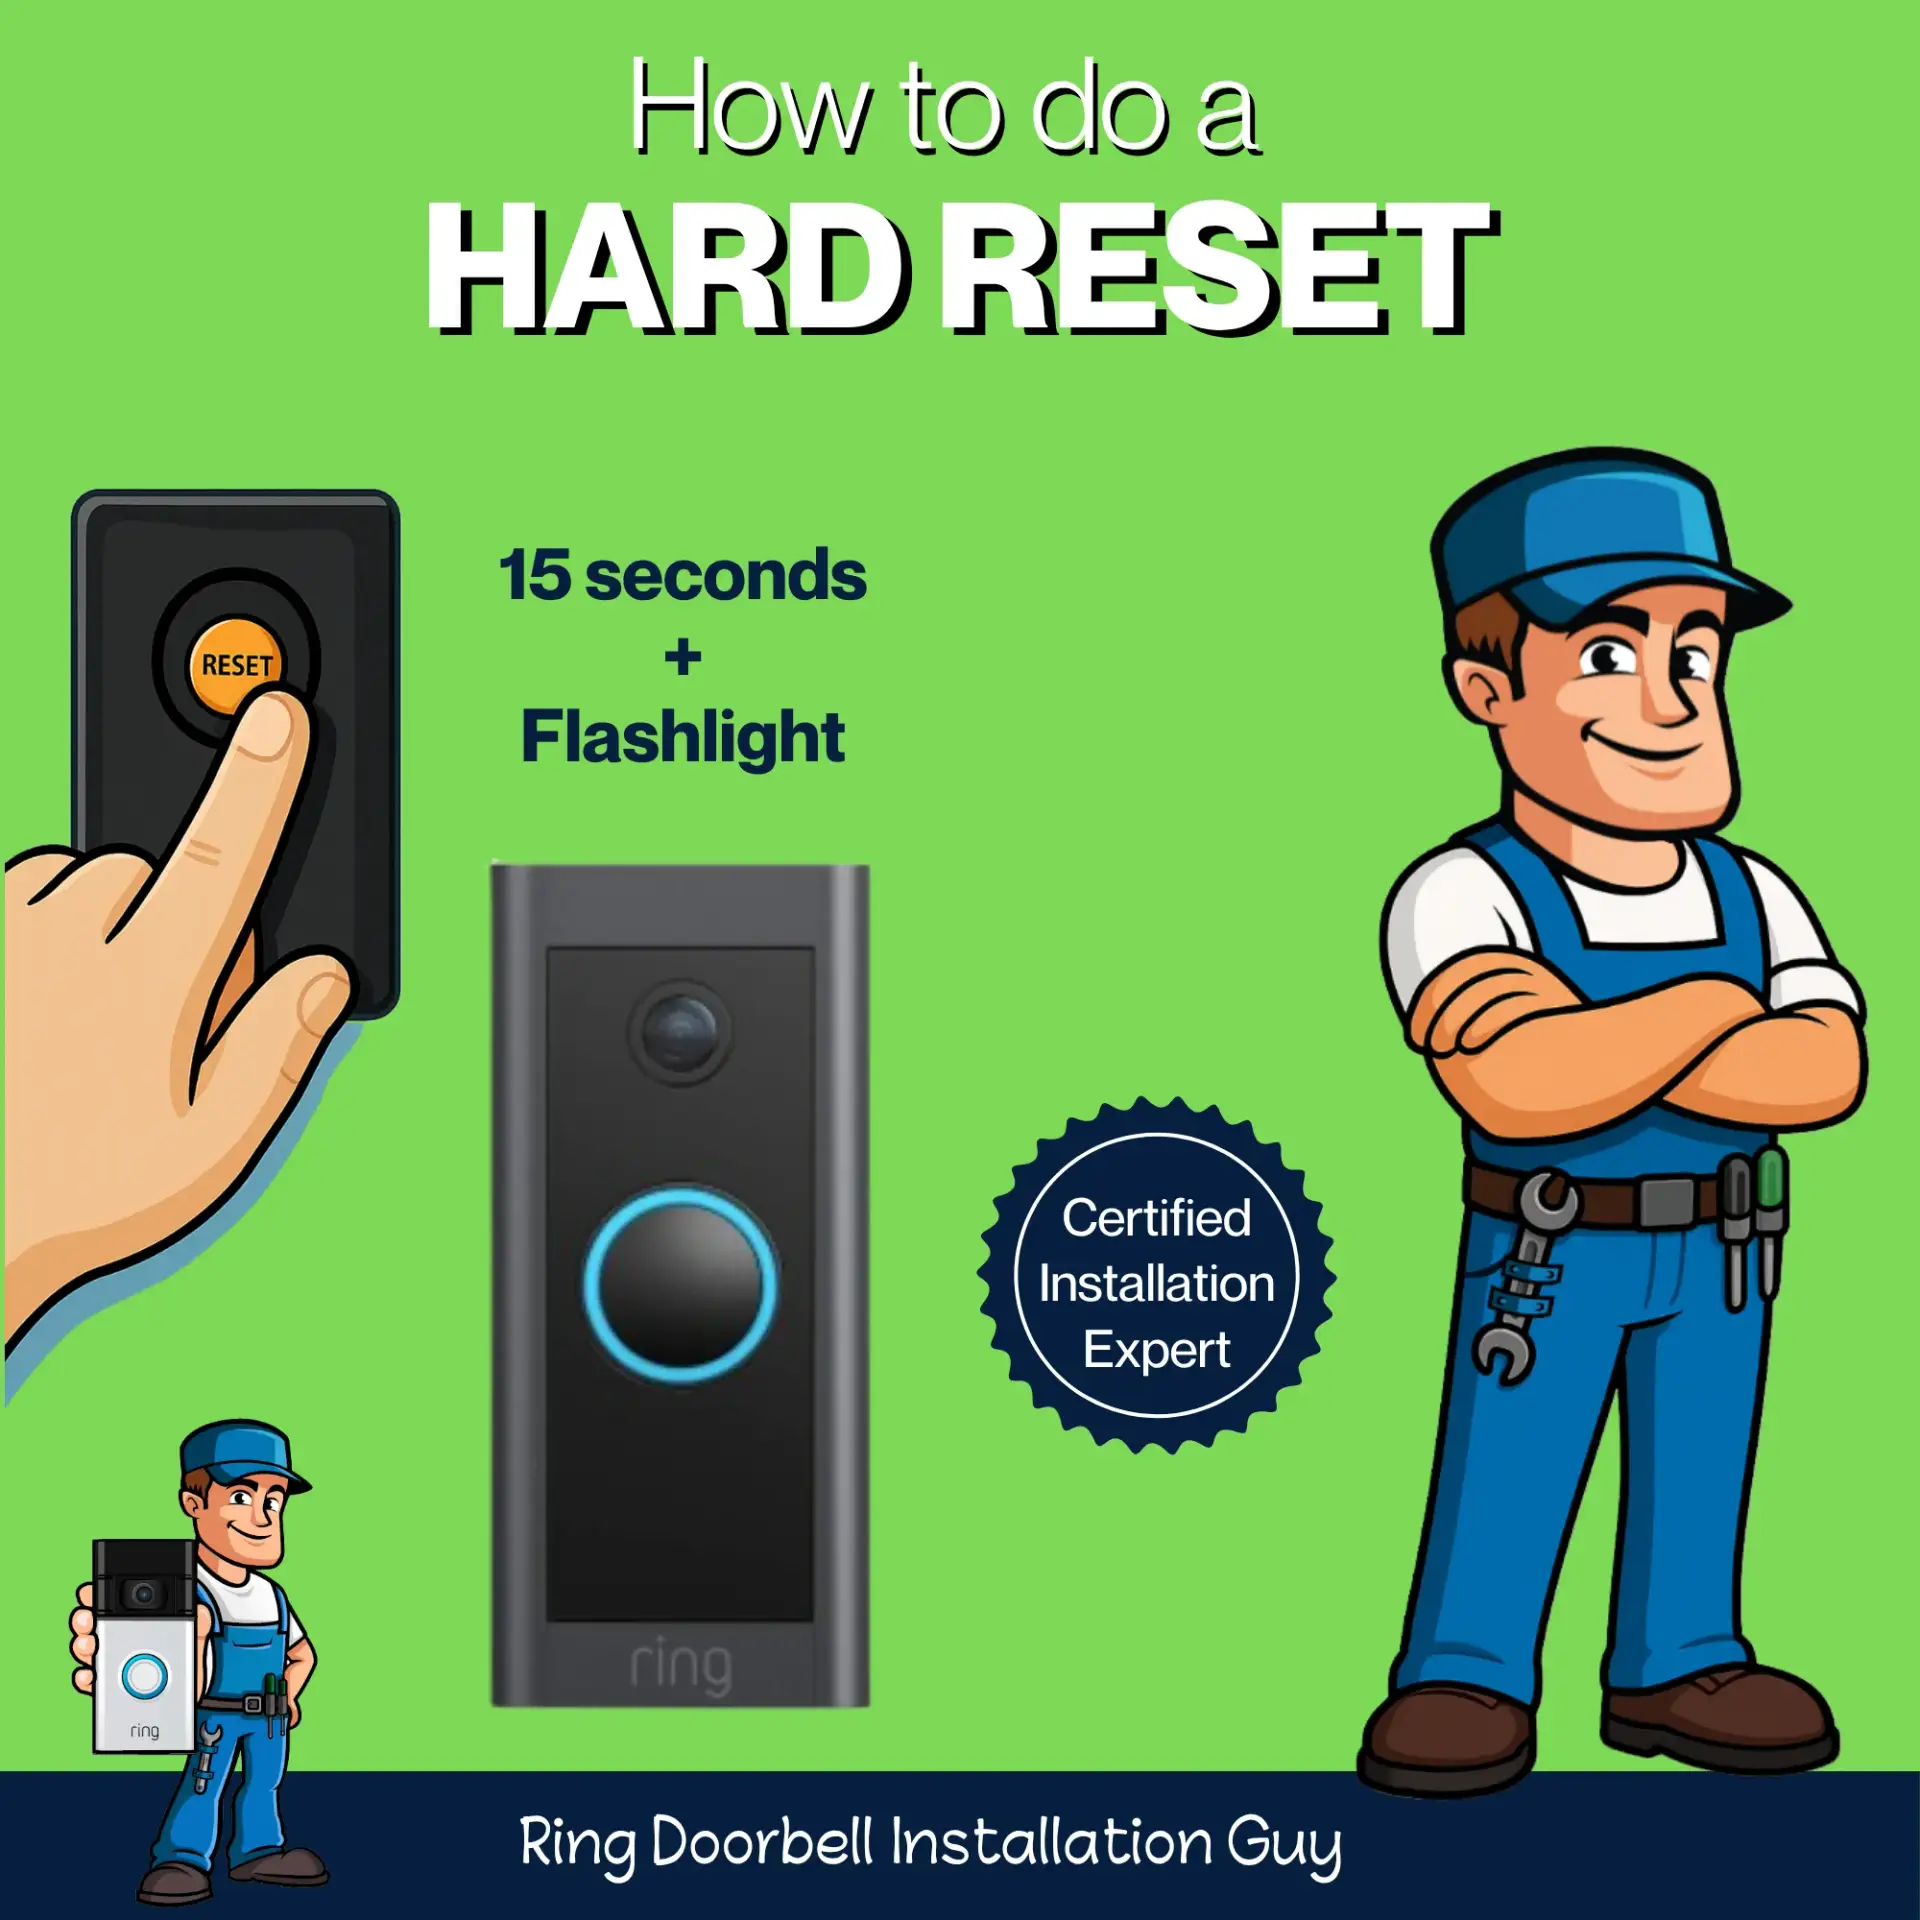
Ring Video Doorbell (1st & 2nd Gen)
1. Locate the orange button on the back of the unit.
2. Press and hold the button for 15 seconds.
3. Release the button. The front light will flash, confirming the reset.
If the issue continues, consider doing a factory reset Ring Doorbell for a full restore.
Ring Doorbell 3, 4, and Battery Models
1. Remove the faceplate using the Ring screwdriver.
2. Press and hold the setup button for 20 seconds.
3. Release the button. The LED ring will flash to confirm the reset.
Still not working? A factory reset Ring Video Doorbell may be necessary.
What Happens After You Reset Ring Doorbell?
After the reset, your Ring Doorbell reboots but keeps your Wi-Fi information, account settings, and video history. Think of it as a quick refresh—it doesn’t delete anything important. A factory reset Ring Video Doorbell, on the other hand, removes all data and restores it to default settings.
Troubleshooting If Reset Doesn’t Work
If your doorbell still doesn’t respond after you reset Ring Doorbell, check these areas:
Power: Make sure the transformer or battery is supplying power.
Wi-Fi: Verify your signal strength—use a mesh system or extender if needed.
App: Confirm the device shows online in the Ring app.
If problems continue, it may be time for a professional inspection or even a full Ring Doorbell factory reset.
Factory Reset Ring Doorbell (All Models)
If the quick reset and troubleshooting steps above didn’t solve the issue, performing a factory reset may be necessary. A factory reset Ring Doorbell clears all data, settings, and Wi-Fi information. Use this only as a last resort.
To factory reset your Ring Doorbell:
Open the Ring app.
Go to Device Settings for your Ring Doorbell.
Select Remove Device.
Confirm removal. The device will be unlinked from your account.
Reinstall it as a new device by following the setup process in the app.
In some models, you may also need to press and hold the setup button for about 30 seconds until the light flashes, but the main method is through the app removal and reinstall process.
After a factory reset, you will need to reconnect Wi-Fi and adjust your preferences again in the Ring app.
Frequently Asked Questions
What’s the difference between a reset and factory reset on Ring Doorbell?
A reset reboots your Ring Doorbell without deleting settings. A factory reset Ring Doorbell erases all settings and video history. If you have a Ring Video Doorbell, a factory reset Ring Video Doorbell will fully wipe the device.
Will I need to re-enter my Wi-Fi password after a reset?
No. A reset Ring Doorbell typically keeps your Wi-Fi login information intact. If you do a factory reset Ring Doorbell, you will need to set up Wi-Fi again.
Does a reset or factory reset delete my videos?
A normal reset Ring Doorbell does not delete videos. A factory reset Ring Video Doorbell, however, will erase all stored settings and history.
How do I perform a Ring Doorbell factory reset if the normal reset doesn’t work?
To perform a Ring Doorbell factory reset, press and hold the setup button for 30 seconds until the light flashes. This process applies to most Ring Video Doorbell models and clears all data.
Need Professional Help?
A reset solves most minor issues, but if your Ring Doorbell still won’t cooperate, I can help. I specialize in troubleshooting, installing, and repairing Ring devices across Orange County. Whether you need to reset Ring Video Doorbell or perform a full factory reset Ring Doorbell, contact me today for fast, local support.
For more help and related topics, check out these pages:
Link to “Ring Doorbell Installation Services” page.
Link to “Ring Transformer Installation” troubleshooting guide.
Link to related “DIY Ring Doorbell Fixes” blog posts.
Visit the official Ring Support page on resets and troubleshooting: https://support.ring.com/ for the latest instructions.
Author Bio – Dave, Ring Expert
I’m Dave, an independent installer based in Orange County, California. As the owner of Ring Doorbell Installation Guy, I specialize in Ring devices including cameras, doorbells, alarm systems, and transformers. With over a decade of hands-on experience, I provide dependable solutions that keep homes and businesses protected.
If you’ve ever been flooded with motion alerts from your Ring Doorbell that turn out to be cars driving by or tree branches swaying, you’re not alone. That’s where Ring Motion Zones come in. I’m going to break down what they are, why they matter, and how to set them up the right way to improve your home’s security and reduce false notifications.
What Are Ring Motion Zones?
Ring Motion Zones are adjustable areas in your doorbell camera’s view where motion detection is active. Instead of monitoring every movement in the entire camera range, you can draw zones to focus detection on key areas like your front walkway, porch, or driveway — while ignoring the sidewalk or street.
Why Ring Motion Zones Matter
Cut Down on False Alerts
One of the biggest benefits of setting up motion zones is avoiding constant alerts from irrelevant movement like cars, shadows, or trees. It helps your Ring Doorbell focus on what truly matters — like someone approaching your front door.
Save Battery Life
For battery-powered Ring models, unnecessary motion detections drain power fast. Narrowing the detection area means fewer events get triggered — and that means longer battery life.
Improve Your Response Time
When you get fewer false alerts, you’re more likely to pay attention when real activity happens. That means quicker reactions to deliveries, visitors, or unexpected guests.
How to Set Up Motion Zones in the Ring App
Step-by-Step Instructions
Zones” 5. Use your finger to draw detection zones on the screen 6. Tap “Save” when you’re done
Tips for Better Setup
Focus on high-traffic areas like doors and walkways – Avoid including streets or sidewalks to limit unwanted alerts – Test your zones and adjust based on what you want to detect
Need Help Setting It Up?
Setting up Ring Motion Zones the right way makes a big difference in your home’s security and your day-to-day peace of mind. If you’re unsure how to get started or want help installing your Ring system properly, I’m here to help.
Yes, you can draw multiple zones in the app to cover different areas. This is especially helpful if you want to monitor the porch, driveway, and side gate separately.
Do motion zones work at night?
Yes. Ring devices use infrared sensors, so they continue detecting motion inside your zones even when it’s dark outside.
Will motion zones affect Live View?
No. Live View always shows the full camera view. Motion zones only control where the device looks for motion events.
Author Bio – Dave, Ring Expert
I’m Dave, an independent installer based in Orange County, California. As the owner of Ring Doorbell Installation Guy, I specialize in Ring devices including cameras, doorbells, alarm systems, and transformers. With over a decade of hands-on experience, I provide dependable solutions that keep homes and businesses protected.
Not every front door offers the perfect angle for a doorbell camera. That’s where a Ring Angle Mount comes in handy. If your Ring Doorbell faces a wall, walkway, or doesn’t have a clear view of your visitors, you might need to adjust the viewing angle.
Using a Ring angle mount ensures your camera captures the right area—from head-to-toe views to full coverage of your driveway, porch, or front steps.
When You Should Use a Ring Angle Mount
Door is Set Back or in an Alcove
If your door is recessed or has a tight entryway, your doorbell camera might only see walls. A Ring angle mount can shift the field of view outward.
Poor Side-to-Side Coverage
Many homeowners want to see the sidewalk, driveway, or packages dropped off to the side of the door. Angle mounts let you rotate the camera left or right (15°, 30°, or more).
Too Much Sunlight or Glare
Adjusting your doorbell’s angle can reduce direct sunlight, shadows, or glare that interfere with motion detection and image clarity.
Tight Spaces Limit Your View
Sometimes in narrow entryways or tight corners, you can’t see everything—top to bottom. You may have to make a decision on what’s most important: capturing faces or monitoring packages. It’s not always possible to get both perfectly. Choosing the right angle helps prioritize your view based on your needs.
What Types of Angle Mounts Are Available?
Ring offers official wedge and corner kits, and third-party options are available online. Here’s a breakdown:
Wedge Kits: Tilt the camera up or down to better see visitors’ faces.
Corner Kits: Rotate the camera left or right to capture a better field of view.
Adjustable Multi-Angle Mounts: These solutions let you tweak angles in multiple directions for tricky setups, including both left/right and up/down adjustments.
Some Ring Doorbells come with angle kits in the box. If you know you need an angle mount before purchasing, be sure to check which models include the kit to save time and money.
How to Install a Ring Angle Mount
Most angle mounts are easy to install and come with included screws. However, if you’re adding an angle kit to an already-installed Ring Doorbell, keep in mind that you will need to drill new holes to accommodate the mount. Here’s the basic process:
Remove your existing Ring Doorbell (if installed)
Attach the angle mount to the wall
Secure your Ring Doorbell to the mount
Check your camera view in the Ring app
Be sure to follow all safety and installation instructions included with your mount. For stucco, brick, or concrete, special anchors may be needed.
Does a Ring Angle Mount Affect Motion Detection?
Yes. Angling your camera changes the detection zone. You may get fewer false alerts or better coverage depending on your layout. Always test after installation and adjust the motion zones in your Ring app.
Don’t Want to Deal With It? I Can Help.
If you’re not sure which angle mount to get or how to install it, I’m here to help. I install Ring Doorbells and accessories the right way the first time—no guesswork, no frustration.
If your doorbell faces a wall, has limited visibility, or you want a wider view, then yes—an angle mount can help improve camera performance.
Will the angle mount work with all Ring models?
Most Ring angle mounts work with Ring Video Doorbell 1, 2, 3, 3 Plus, Pro, and Pro 2. Check your model for compatibility.
Can I use more than one mount?
Yes. Some homeowners stack wedge and corner kits for more extreme angles, but this may require longer screws and a secure mounting surface.
Author Bio – Dave, Ring Expert
I’m Dave, an independent installer based in Orange County, California. As the owner of Ring Doorbell Installation Guy, I specialize in Ring devices including cameras, doorbells, alarm systems, and transformers. With over a decade of hands-on experience, I provide dependable solutions that keep homes and businesses protected.
If you’re constantly having to recharge your Ring camera, you’re not alone. Many of my customers ask me if a solar panel will help—and the answer is yes, in many cases. A Ring Solar Panel can keep your battery-powered camera topped off using sunlight, so you don’t have to manually charge it as often. In this post, I’ll explain which Ring Solar Panel options are available, what works best, and how to install them properly.
Which Ring Solar Panels Are Available?
Small Solar Panel (USB‑C)
This is a 1.9 W panel that’s great for sunny locations and light-to-moderate camera activity.
Super Solar Panel (USB‑C)
This larger 4 W panel charges faster and is better for high-traffic areas or places with less direct sunlight.
Compatible Ring Cameras
Make sure your camera has a USB‑C port. These solar panels are compatible with:
Supported Models
Stick Up Cam Battery (USB‑C) – Spotlight Cam Plus and Pro Battery (USB‑C) – Outdoor Cam Battery
How Much Sunlight Do You Need?
To get the most out of your Ring Solar Panel, you’ll need: – 3–4 hours of direct sunlight per day for the Small Panel – 2–3 hours per day for the Super Solar Panel
Mounting Tips
Point your panel south (if you’re in the Northern Hemisphere)
Use a tilt bracket to adjust for the sun’s angle
Avoid shaded areas like under eaves or behind fences
Do Clouds or Rain Affect Charging?
Yes. Heavy clouds or rain can slow or stop charging temporarily. While the panel can still pick up some light on overcast days, it won’t be as efficient. If your area gets frequent cloudy weather, go with the Super Solar Panel.
Do You Still Need to Charge the Battery?
Usually not if the panel is getting plenty of sun. In ideal conditions, your battery should stay charged indefinitely. But if the camera is recording all day or the panel is in partial shade, it may not keep up 100% of the time.
Mounting Options for Solar Panel and Camera
Ring sells mounts that let you install your camera and solar panel together in tight spaces, on poles, fences, or rain gutters. These mounts make it easier to angle everything for sunlight while keeping your camera view where you want it.
Installing a Ring Solar Panel is usually simple—but placing it correctly makes a big difference. I help customers figure out the best mounting location, handle the wiring, and make sure it looks clean and works well.
If you’re not sure where to start, I can help! Visit www.ringdoorbellinstallationguy.com or call me for help installing your Ring Solar Panel.
Will the Ring Solar Panel work in the shade?
No. It needs direct sunlight for at least a few hours a day to charge effectively.
Can I use it behind a window?
No. Sunlight through glass isn’t strong enough to power the panel.
Do I still need the battery?
Yes. The panel keeps the battery charged, but doesn’t replace it.
Which panel is right for me?
The Small Panel is fine for low-activity areas with lots of sun. The Super Panel is better for shady spots or cameras that record often.
Author Bio – Dave, Ring Expert
I’m Dave, an independent installer based in Orange County, California. As the owner of Ring Doorbell Installation Guy, I specialize in Ring devices including cameras, doorbells, alarm systems, and transformers. With over a decade of hands-on experience, I provide dependable solutions that keep homes and businesses protected.
Shopping for a Ring Doorbell can feel like scrolling an endless buffet of specs—1080p vs. 1536p, battery vs. hard-wired, radar, 3D Motion… you name it. I install Ring Doorbells every day, so let me cut through the noise and help you choose the model that fits your tech comfort, phone, home wiring, and budget.
Table of Contents
Start With You
Simple Choices for Low-Tech Users
Power Users & Smart-Home Fans
Phone Compatibility
Battery vs. Hardwired (and hidden transformer costs)
Home Type Matters
Do You Need an Angle Mount?
What Features Do You Actually Need?
My Top Recommendations
Still Unsure? Get Free Advice
Quick-Fire FAQ
Start With You — What Kind of User Are You?
Every Ring model records video and sends alerts. The right one depends on how comfortable you are with apps and wiring, what phone you own, and whether you’d rather recharge a battery or never think about power again.
Not Super Tech-Savvy? Here’s What You’ll Like
Keep It Simple
If you just want to see who’s at the door and talk back, stick with the Battery Doorbell Plus. It sets up with a screwdriver, lasts up to five months per charge, and the app walks you through every step.
Ideal Options for Older Adults or Low-Tech Users
For grandparents or anyone who’d rather not tinker, the Battery Doorbell Plus offers HD video, motion alerts, and larger on-screen buttons. Pair it with Ring Chime so you still hear a classic doorbell sound inside.
Are You a Power User or Tech Enthusiast?
Love automation? Want head-to-toe video and 3D Motion zones? Go with the Wired Doorbell Pro or Video Doorbell Elite. Both record in 1536p HDR, support Alexa Greetings, and integrate with smart locks and routines.
Smart-Home Integrations
These models work with Amazon Alexa, IFTTT, and smart locks like Schlage Encode. You can tell Alexa to “show Front Door” or auto-lock the door when no one’s detected
Most of my work comes from referrals. Once I help one homeowner on a street, I usually end up helping a few more nearby. That’s why I created this blog — to share helpful tips and let you know I’m here if you need me.
Phone Compatibility — What Kind of Smartphone Do You Have?
Older Phones (iPhone 8 / Galaxy S8 or earlier)
High-res live view may lag on older hardware. Stick to HD-only models like the Battery Doorbell Plus for smoother loading.
Newer Phones (iPhone 11 and up / Pixel 6 and up)
Your phone can handle 1536p video and advanced features like Bird’s-Eye View—go for the Battery Doorbell Pro or Wired Doorbell Pro.
Battery vs. Hardwired — What’s Easier for You?
Battery models are quick to install and don’t need an electrician. You’ll recharge them every 2–5 months. Hardwired models provide continuous power and a sleek look, but they require existing doorbell wiring (16–24 VAC).
A Quick Heads-Up on Hardwired Models
Some top models need a doorbell transformer upgrade. Most older homes only supply 10 VAC, while the Wired Doorbell Pro needs 24 VAC. Expect to pay ~$30 for the transformer and extra time for installation.
Where You Live Matters Too
Apartments & Condos
If your HOA doesn’t allow wall drilling, go with the Peephole Cam or Battery Doorbell Plus. Easy to install and no wiring required.
Houses with Existing Doorbell Wiring
If your chime already works, you’re good to go. Upgrade to a Wired Doorbell Pro for a sleek look and zero charging.
Do You Need an Angle Mount?
If your doorbell will sit on a side wall or faces a weird direction, you might need an angle kit to capture a better view of visitors and packages.
Types of Angle Mounts
Angle mounts come in horizontal (left/right) or vertical (up/down) designs. Some Ring models include a basic kit, others don’t. You can buy them on Amazon or Ring’s website.
When You Might Need One
If you can’t see the bottom of your doorstep (for packages)
If faces are cut off due to a high mount
If your wall angles the doorbell away from the front path
If you’re adding an angle mount to an existing install, you’ll probably need to drill new holes.
What Features Do You Actually Need?
Do you just want to see who’s at the door? Or do you need smart-home integration, package detection, and two-way talk? Don’t overpay for features you’ll never use.
My Honest Advice — What I Recommend Most Often
Quick setup: Battery Doorbell Plus
Smart-home setups: Wired Doorbell Pro
Apartments & condos: Peephole Cam
Top-tier battery option: Battery Doorbell Pro
Wired homes with modern needs: Wired Doorbell Pro
Still Not Sure? Text Me a Photo of Your Door
Send me a quick photo of your doorframe and let me know your phone model. I’ll give you a recommendation within 24 hours—no charge.
Anywhere from 2 weeks to 5 months depending on motion and weather. Cold temps and high activity shorten battery life.
Will a Ring Doorbell work in the rain?
Yes, they’re weather-sealed. Heavy rain might blur video briefly, but no damage will occur.
Can I share access with family members?
Yes, use the Shared Users feature in the Ring app to invite trusted contacts.
Does Ring work on 5 GHz Wi-Fi?
Most newer models do. Check the specs to confirm before buying.
Author Bio – Dave, Ring Expert
I’m Dave, an independent installer based in Orange County, California. As the owner of Ring Doorbell Installation Guy, I specialize in Ring devices including cameras, doorbells, alarm systems, and transformers. With over a decade of hands-on experience, I provide dependable solutions that keep homes and businesses protected.